PhotoSonic is a powerful Text to Art generator Ai tool. In this step-by-step guide, we’ll show you how to use Photosonic and we will explore the various features and functionalities of PhotoSonic, this guide will equip you with the knowledge needed to create stunning and professional-looking art photos.
How to Use PhotoSonic
The process of creating art from text in PhotoSonic is straightforward. The following steps will help you unleash your creativity:
On the Photosonic dashboard, locate the text input field. The text you want to transform into art should be entered here. You can use a quote, poem, song lyrics, or anything else you like.
Choose an artistic style or genre that aligns with your vision. Using PhotoSonic is easy, and there are a wide variety of options to choose from.
You can customize parameters such as color palette, composition, and style to achieve the artistic output you desire. Sliders and controls provided by PhotoSonic allow you to adjust these settings.
Click on the “Generate Art” button once you are satisfied with your customization.
View and download the generated artwork. You can save it in various formats, such as JPEG, PNG, TIFF, etc, depending on your requirements.
Share your stunning artwork with the world, whether it’s on social media, your personal website, or as a printed and framed masterpiece.
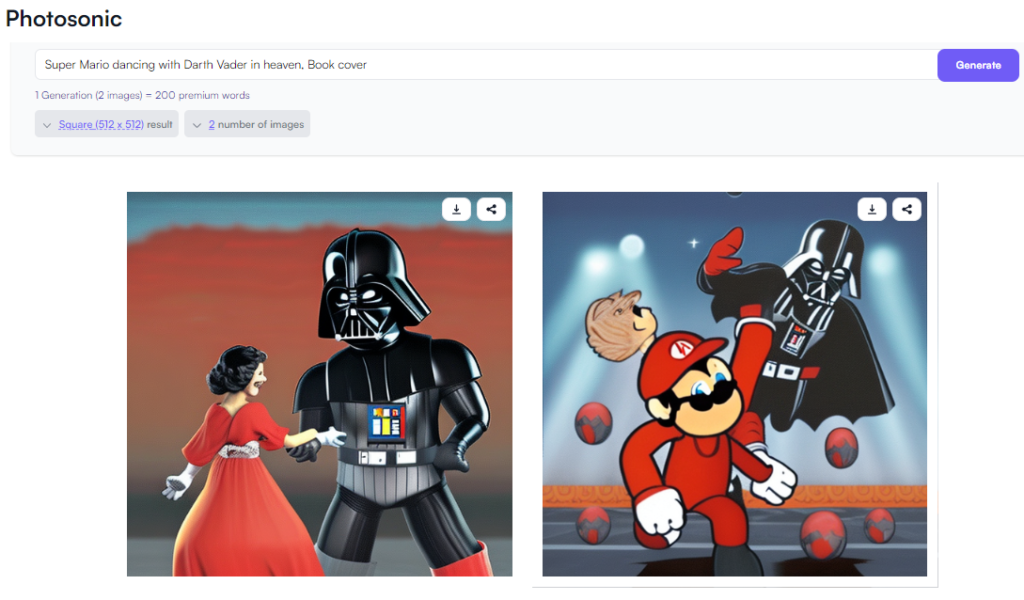
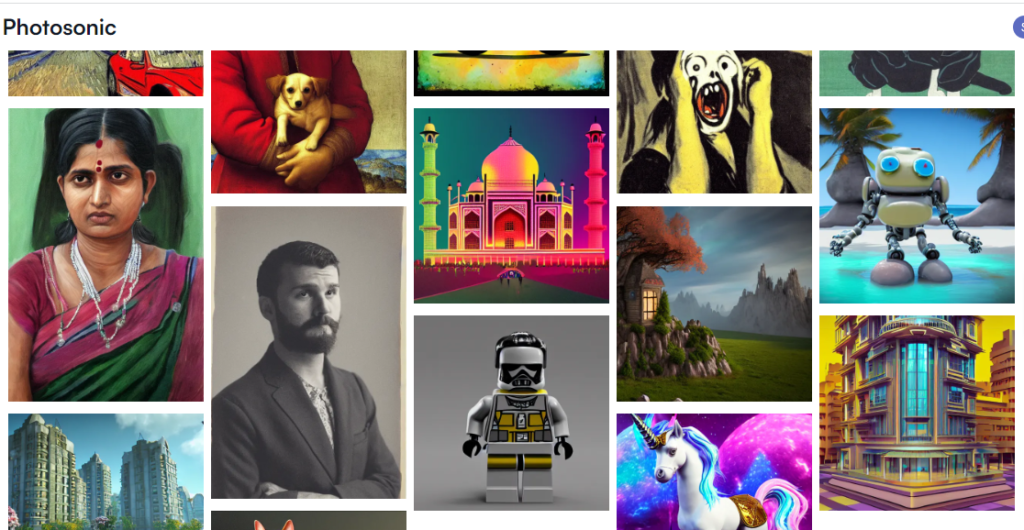
Here are some examples of using PhotoSonic:
Conclusion
PhotoSonic offers a wide range of features that can transform your Text into extraordinary works of art. By following this step-by-step guide, you can unlock the full potential of PhotoSonic and create stunning images that will captivate viewers. Remember to experiment, practice, and have fun as you explore the possibilities of this powerful text to Art generator.
